
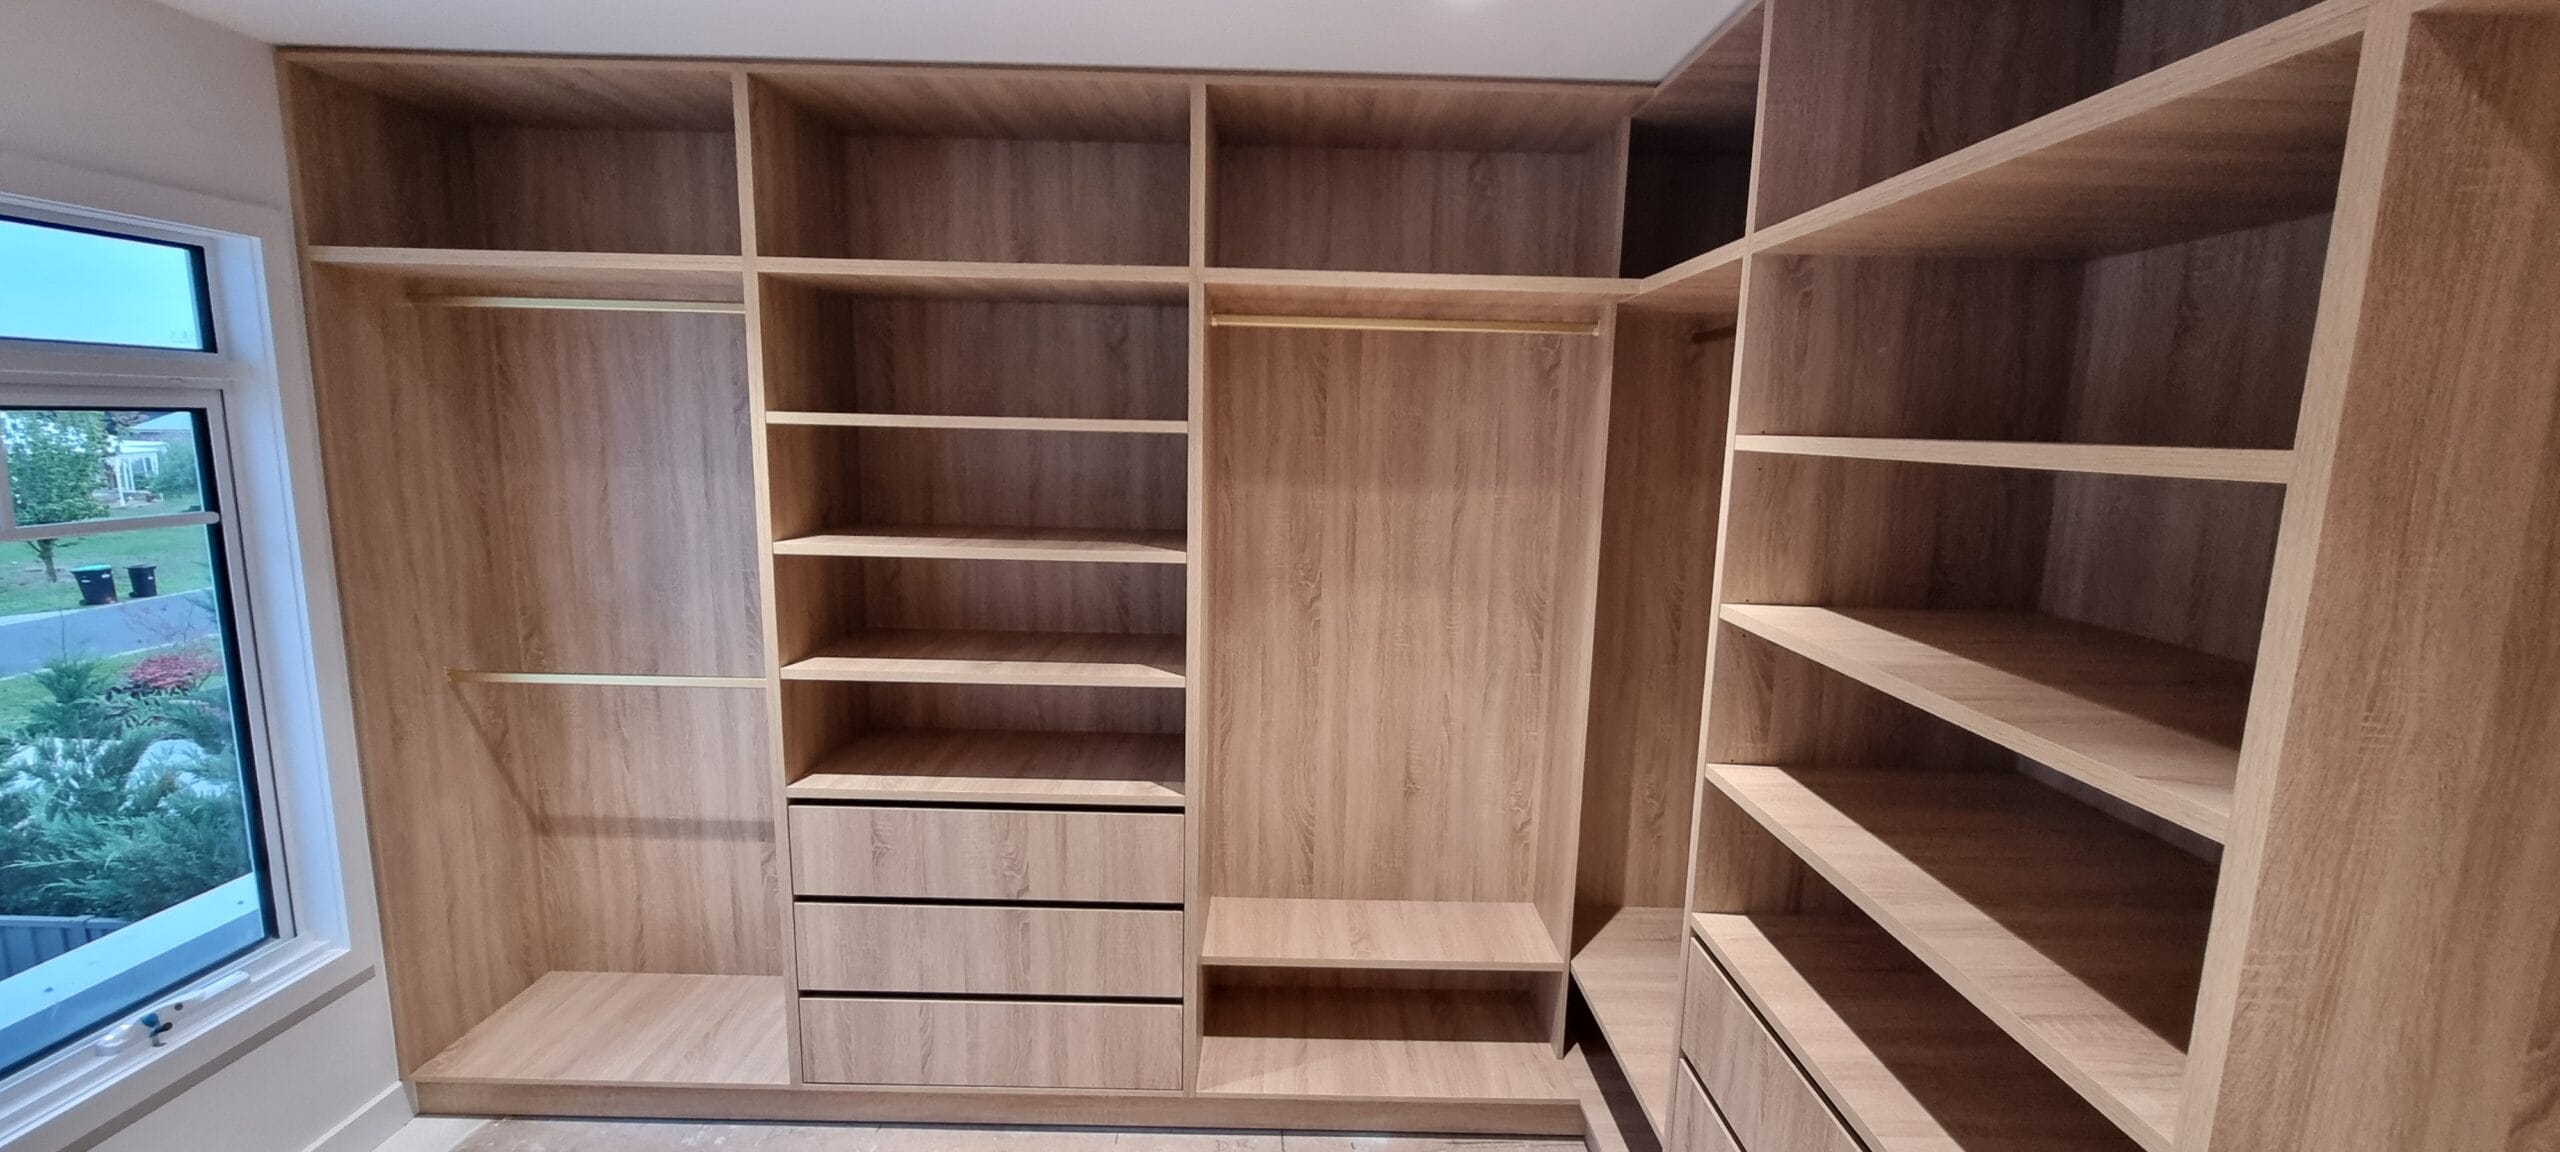
Most people start planning a walk-in robe by scrolling through photos of beautiful dressing rooms. Fair enough, but the rooms that still feel great five years on aren’t always the prettiest. They’re the ones where the storage suits the clothes, the lighting shows you what you own, and you can move around without turning sideways.
That’s what good walk-in wardrobe design Melbourne homeowners can live with every day looks like. To see the kind of joinery that’s possible before you start measuring, have a look at our custom wardrobes range, then work through the details below.
Start With the Room, Not the Joinery
Before you think about colours or handles, grab a tape measure. Most walk-in wardrobe design Melbourne projects begin as a spare bedroom, part of the main bedroom or a dressing area off the ensuite.
Note the ceiling height, the room’s width and length, and where the doors, windows and power points sit. Bulkheads, sloping rooflines and air-conditioning vents matter too, because they decide where full-height hanging can go.
Three measurements will save you plenty of grief:
- Hanging depth: about 600 mm, so shirts and jackets aren’t crushed against the back wall.
- Walkway: 900 mm is the practical minimum between two runs. If two people dress at once, aim for 1,000 mm or more.
- Door clearance: hinged doors need room to swing and sliding doors need wall space to travel, so decide this early.
Melbourne’s housing adds a twist. Californian bungalows and Victorian terraces often have narrow bedrooms with generous ceiling height, which suits tall, slim storage. Newer townhouses and apartments tend to be wider and lower, so shelves and drawers do more of the work. Design for the room you’ve got, not a render of someone else’s.
Walk-in Wardrobe Layout Ideas That Actually Work
Layout is the biggest decision in any walk-in wardrobe design Melbourne project, so settle it before you look at a single door finish. Here’s how the common options compare. Treat the widths as rough guides, since ceiling height, door position and your clothing mix all shift the numbers.
|
Layout |
Approx. room width | Best for | Watch out for |
| Single wall (I-shape) | 1.5 m+ | Narrow rooms |
Limited hanging length |
|
Galley (two parallel runs) |
2.1 m+ | Couples, big hanging needs | Tight walkway if undersized |
| L-shape | 1.8 m+ each side | Corner rooms |
Wasted corner space |
|
U-shape |
2.4 m+ | Large collections | Feels cramped in small rooms |
| Island | 3 m+ | Luxury dressing rooms |
Needs generous clearance |
A common mistake is choosing the most impressive layout the room can technically hold. A U-shape squeezed into a tight space leaves a walkway so narrow that an open drawer blocks your way. A simple galley with proper clearance almost always beats a crowded island.
So ask how you really use the space. Do you dress here or just grab clothes and leave? Do you want a seat, a mirror, somewhere to steam a shirt? Your answers usually point straight to the right walk-in wardrobe design Melbourne layout.
Plan Storage Around the Clothes You Actually Own
Good walk-in wardrobe design Melbourne households rely on starts with an inventory. It sounds tedious, but it’s the most useful thing you can do. Sort your hanging items into short (shirts, tops, folded trousers) and long (dresses, coats, gowns), then count shoes, knits, bags and accessories. That tally shows how much of each storage type to build, and stops you paying for long-hang space you’ll never use.
- Double hanging: an upper rail near 1,800 to 1,900 mm and a lower rail near 900 to 1,000 mm roughly doubles capacity for shirts, jackets and skirts.
- Long hanging: dresses and coats need about 1,400 to 1,600 mm of clear drop, so keep these sections modest.
- Drawers: shallow drawers with dividers suit socks, activewear and jewellery. Deep ones just bury things.
- Shelving: 350 to 400 mm deep suits knitwear and bags. Go deeper and items vanish at the back.
- Shoes: angled shelves or pull-outs around 300 to 350 mm deep keep every pair visible.
Seasons matter in this city. When you can get four of them in one afternoon, you end up owning heavy coats, light linen and everything in between. The best walk-in wardrobe ideas Melbourne households use keep the current season at eye level and move off-season clothing to the top shelves twice a year. It’s simple, and it keeps the room calm.
Lighting: The Detail Most Walk-in Wardrobe Design Melbourne Projects Overlook
You’ve probably stood in a dim wardrobe holding two dark jumpers, wondering which one is navy. Good lighting fixes that, and it’s far easier to plan before the walls are lined than after.
Layer it. Downlights give general brightness, LED strips along shelves and under rails light the clothes themselves, and a motion sensor switches everything on when your hands are full.
LEDs run cool, which suits enclosed joinery, and use far less power than old halogens. The Victorian Energy Saver website is a handy place to read up on efficient lighting. Plan the wiring early, and remember that new electrical work in Victoria must be done by a licensed electrician.
If there’s a window, think about sun. Direct light fades fabrics, so a blind or frosted film is a sensible compromise. Put your full-length mirror where light falls on you, not behind you. It’s a small detail, but it separates thoughtful walk-in wardrobe design Melbourne homeowners enjoy from a rushed fit-out.
Access: Making the Space Easy to Use
Access is where walk-in wardrobe design Melbourne plans most often succeed or fail. A wardrobe should make getting dressed faster, not slower. Start with the entry: hinged doors are simple but need swing space, sliding doors save floor area, and an open entry keeps a small room airy.
Then think about reach. Everyday items belong between knee and shoulder height, while top shelves suit luggage and off-season gear, reached with a step stool or pull-down rail. Leave room so drawers open fully while you stand beside them, and avoid dead corners by using angled shelves or a return rail.
If you plan to stay in the home for years, lower rails and soft-close drawers are worth including now. Designing for access from the start costs far less than retrofitting it later.
Small Walk-in Wardrobe Design: Making Less Space Feel Bigger
You don’t need a huge room for a good result. A small walk-in wardrobe design works best with a single-wall or L-shaped layout, full-height storage and light finishes. Stack two hanging rails instead of one long one, add slim drawers where depth is tight, and mirror the back of the door to double the sense of space.
Skip heavy dark panels, and keep the centre of the floor clear. In compact townhouses and apartments, careful walk-in wardrobe design Melbourne owners invest in really pays off.
Luxury and Bespoke Touches Worth Paying For
If the budget stretches, luxury walk-in wardrobe Melbourne projects often add a central island with drawers, glass-fronted cabinets for handbags and watches, velvet-lined jewellery trays, a built-in seat and dimmable lighting.
A bespoke walk-in robe goes further by building around your collection: extra-tall hanging for evening wear, a shoe wall spaced for your heels, a shelf for hats. If you have to prioritise, spend first on what you touch daily, which makes drawers, hardware and lighting the smartest parts of any walk-in wardrobe design Melbourne budget.
Choosing Walk-in Wardrobe Builders in Melbourne
Strong walk-in wardrobe design Melbourne builders deliver starts with a proper site measure, followed by a design explained in plain language. Ask to see finished projects, not just renders. Ask who manufactures, who installs, what hardware they use, and how long it takes from approval to handover.
Look for walk-in robe designs that suit your room and routine, not a package squeezed in. If you want custom walk-in robes in Melbourne, a maker who builds to your exact dimensions usually gets more usable storage from the same footprint than a flat-pack system, and the result looks like part of the house.
Common Walk-in Wardrobe Design Melbourne Mistakes
Most walk-in wardrobe design Melbourne regrets come down to a handful of avoidable errors:
- Too narrow a walkway. It looks fine on a plan, then you can’t open a drawer and walk past.
- One ceiling light only. Add task lighting where you actually look at clothes.
- Too much long-hang. Most people own far more short items than they expect.
- No power points. You’ll want one for a steamer, a charger or sensor lighting.
- Picking finishes first. Lock in the storage plan, then choose colours.
Ready to Plan Your Walk-in Wardrobe?
The best walk-in wardrobe design Melbourne homes can have is about the details: a layout that fits your room, storage that suits your clothes, lighting you can trust and access that makes mornings easier. If you’d like help turning your space into something that works, contact Perfect Kitchen & Robes to book a consultation and get a quote for your walk-in wardrobe design Melbourne project.
Walk-in Wardrobe Design Melbourne FAQs
How big does a walk-in wardrobe need to be?
As a guide, a single-sided walk-in needs a room about 1.5 m wide, and a two-sided layout needs about 2.1 m. That allows 600 mm of hanging depth each side plus a walkway of roughly 900 mm. Smaller rooms can still work with clever walk-in wardrobe design Melbourne builders tailor to the space.
How much does a custom walk-in wardrobe cost in Melbourne?
It varies widely with room size, materials, hardware and extras like islands or lighting. A simple single-wall layout costs far less than a full U-shape with an island, so a site measure and quote is the most accurate way to get a number.
Can I fit a walk-in wardrobe in a small bedroom?
Often, yes. A single-wall or L-shaped layout with full-height storage and good lighting can turn a corner or box room into a usable walk-in. A site measure will confirm whether the walkway clearance works.
What is the best lighting for a walk-in wardrobe?
Layer it: ceiling lights for general brightness, LED strips for task lighting, and sensors for convenience. Neutral white with a high CRI shows colours accurately.
How long does a custom walk-in robe take?
It depends on size and complexity, but custom work typically takes several weeks from design approval through manufacture and installation. Your builder can give a realistic schedule once the design is confirmed.